
Search results for: label/Cookies and Bars
Sorry, no content matched your criteria.and
Bars
-
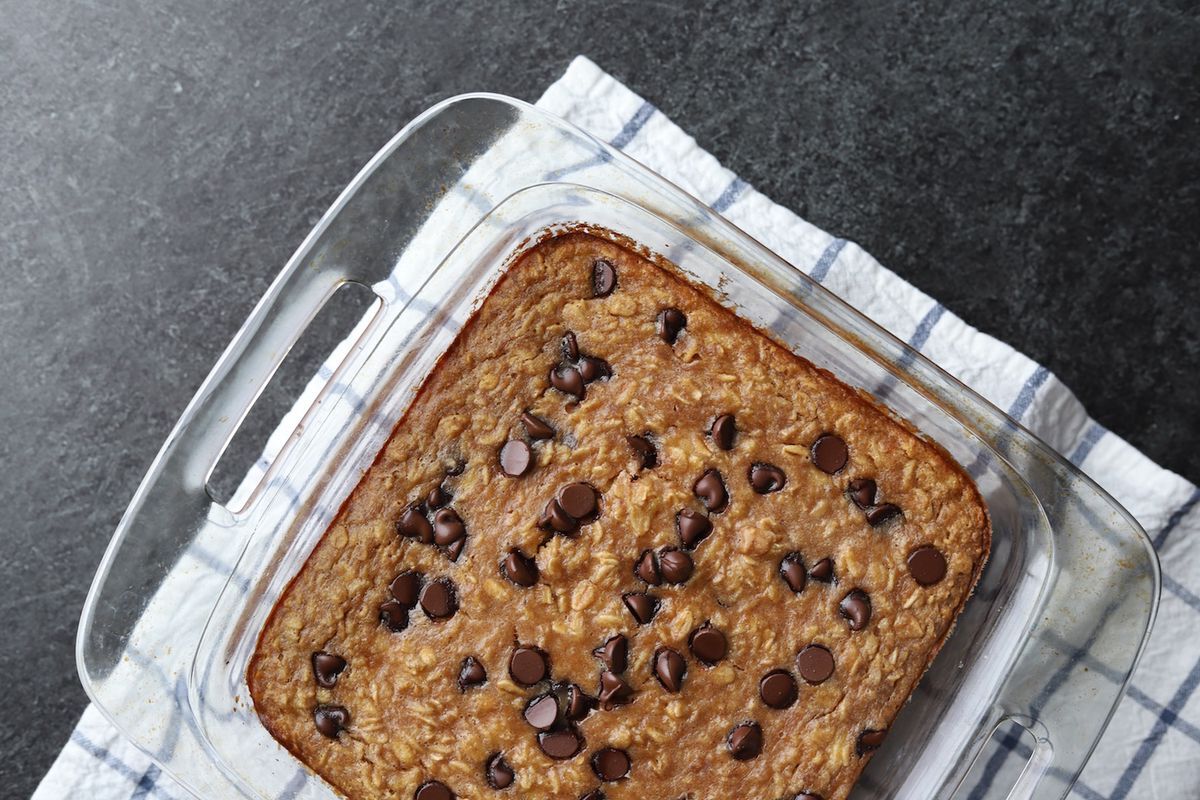
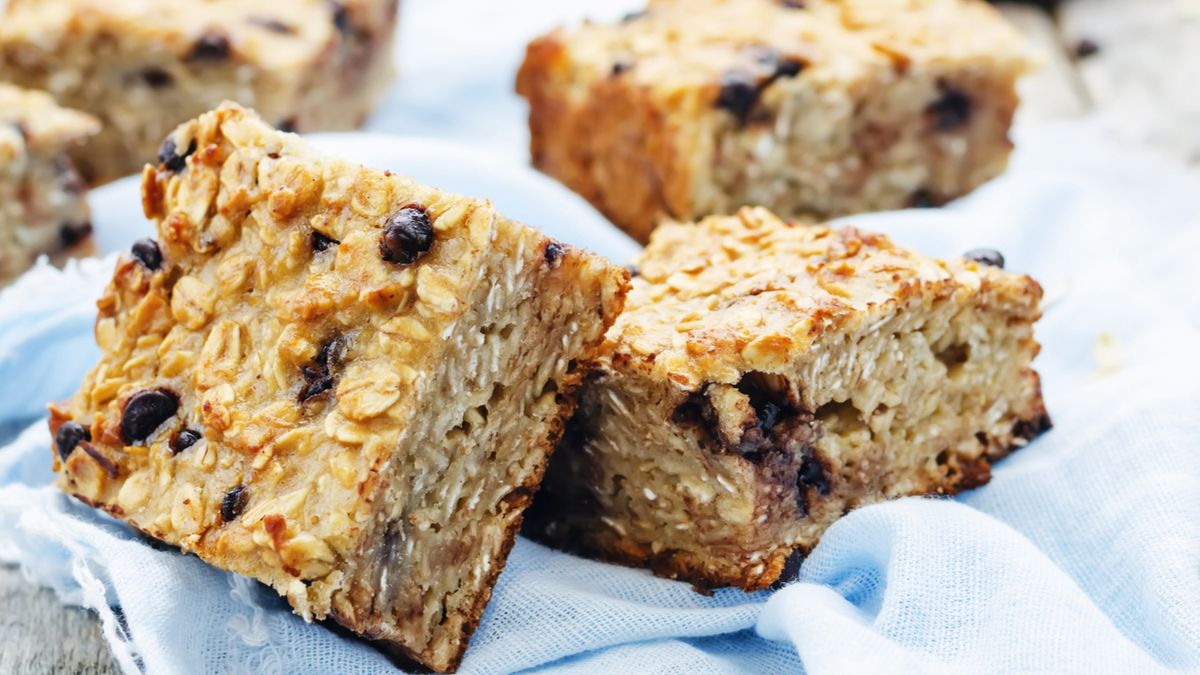 Baked Oatmeal Breakfast Bars Recipe
 -
 Peppermint Patty Chocolate Chip Cookie Bars Recipe
 -
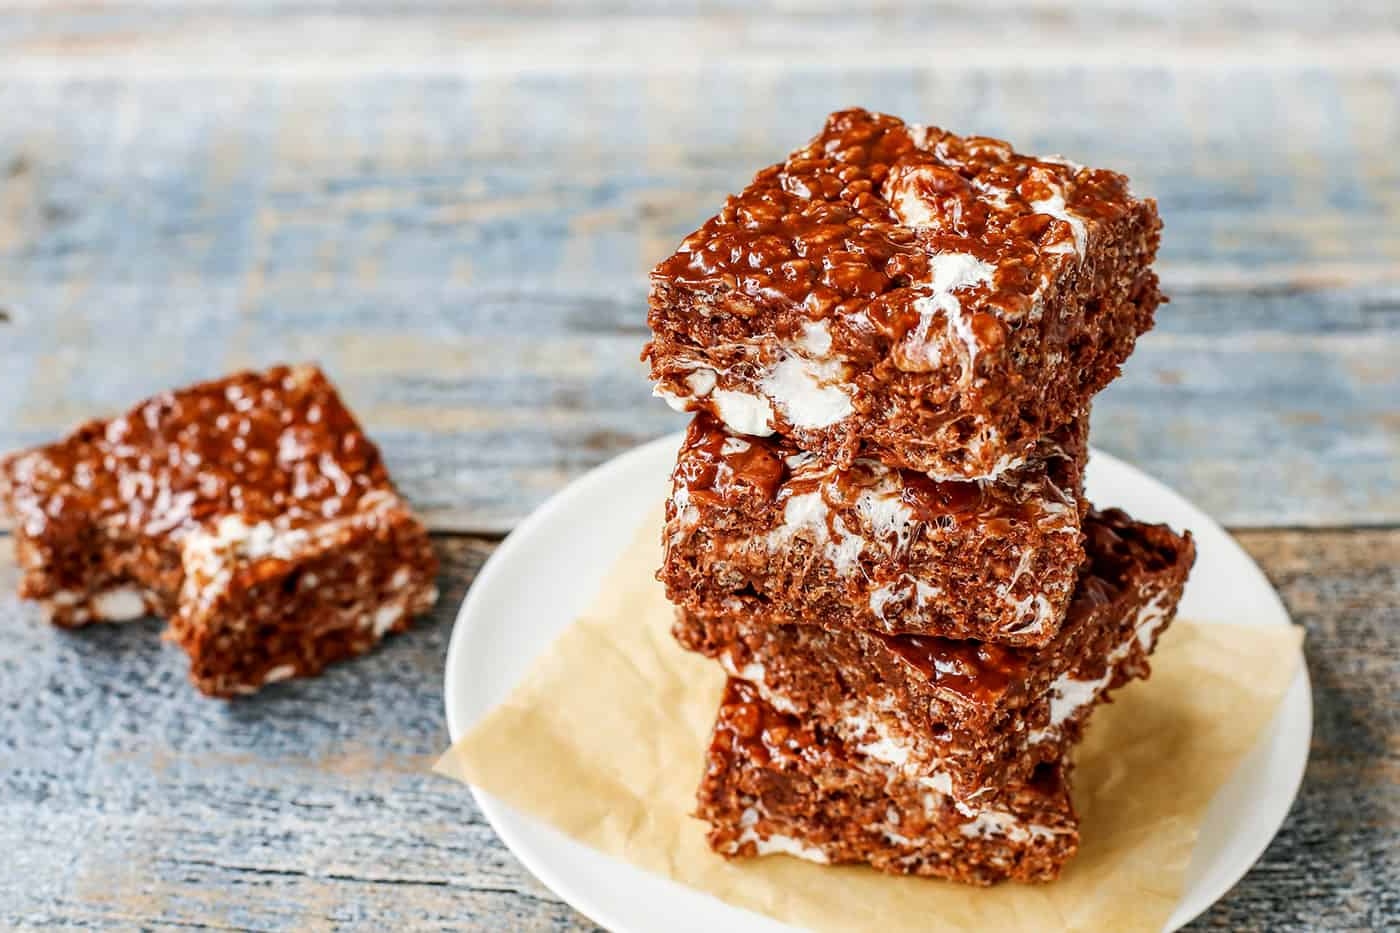 Marshmallow Crispie Bars Recipe
 -
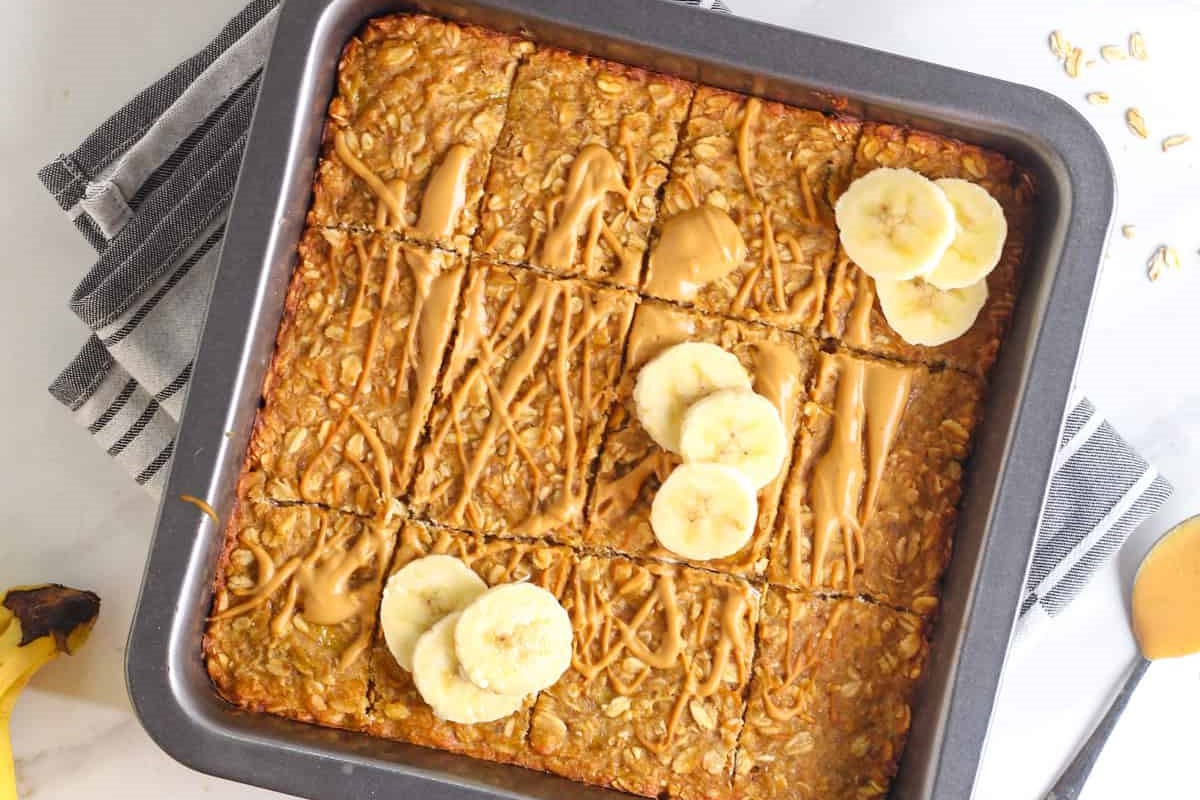 Peanut Butter Banana Oatmeal Bars Recipe
 -
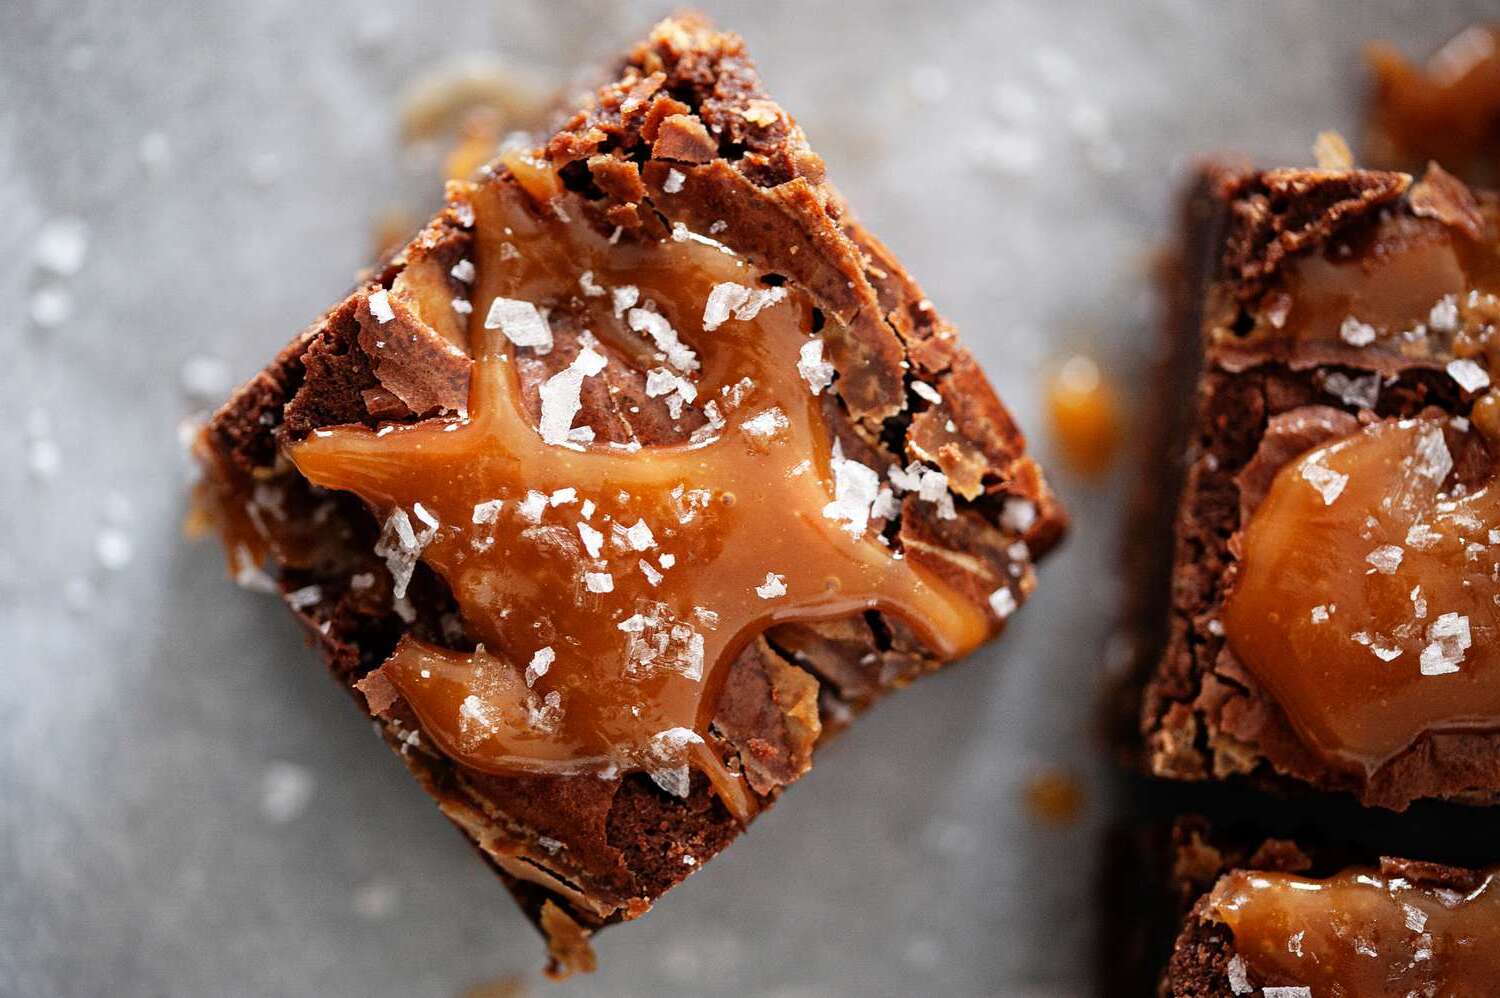 Salted Caramel Brownie Bars Recipe
 -
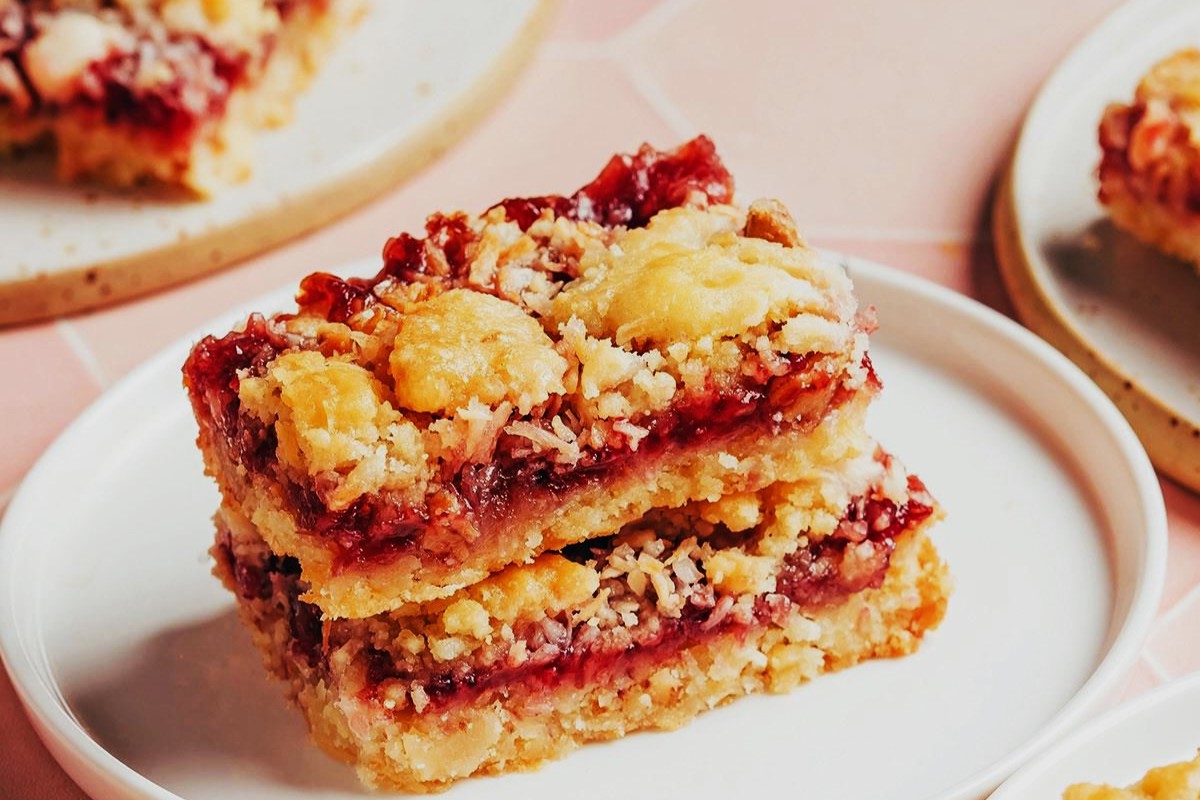 Raspberry Coconut Bars Recipe
 -
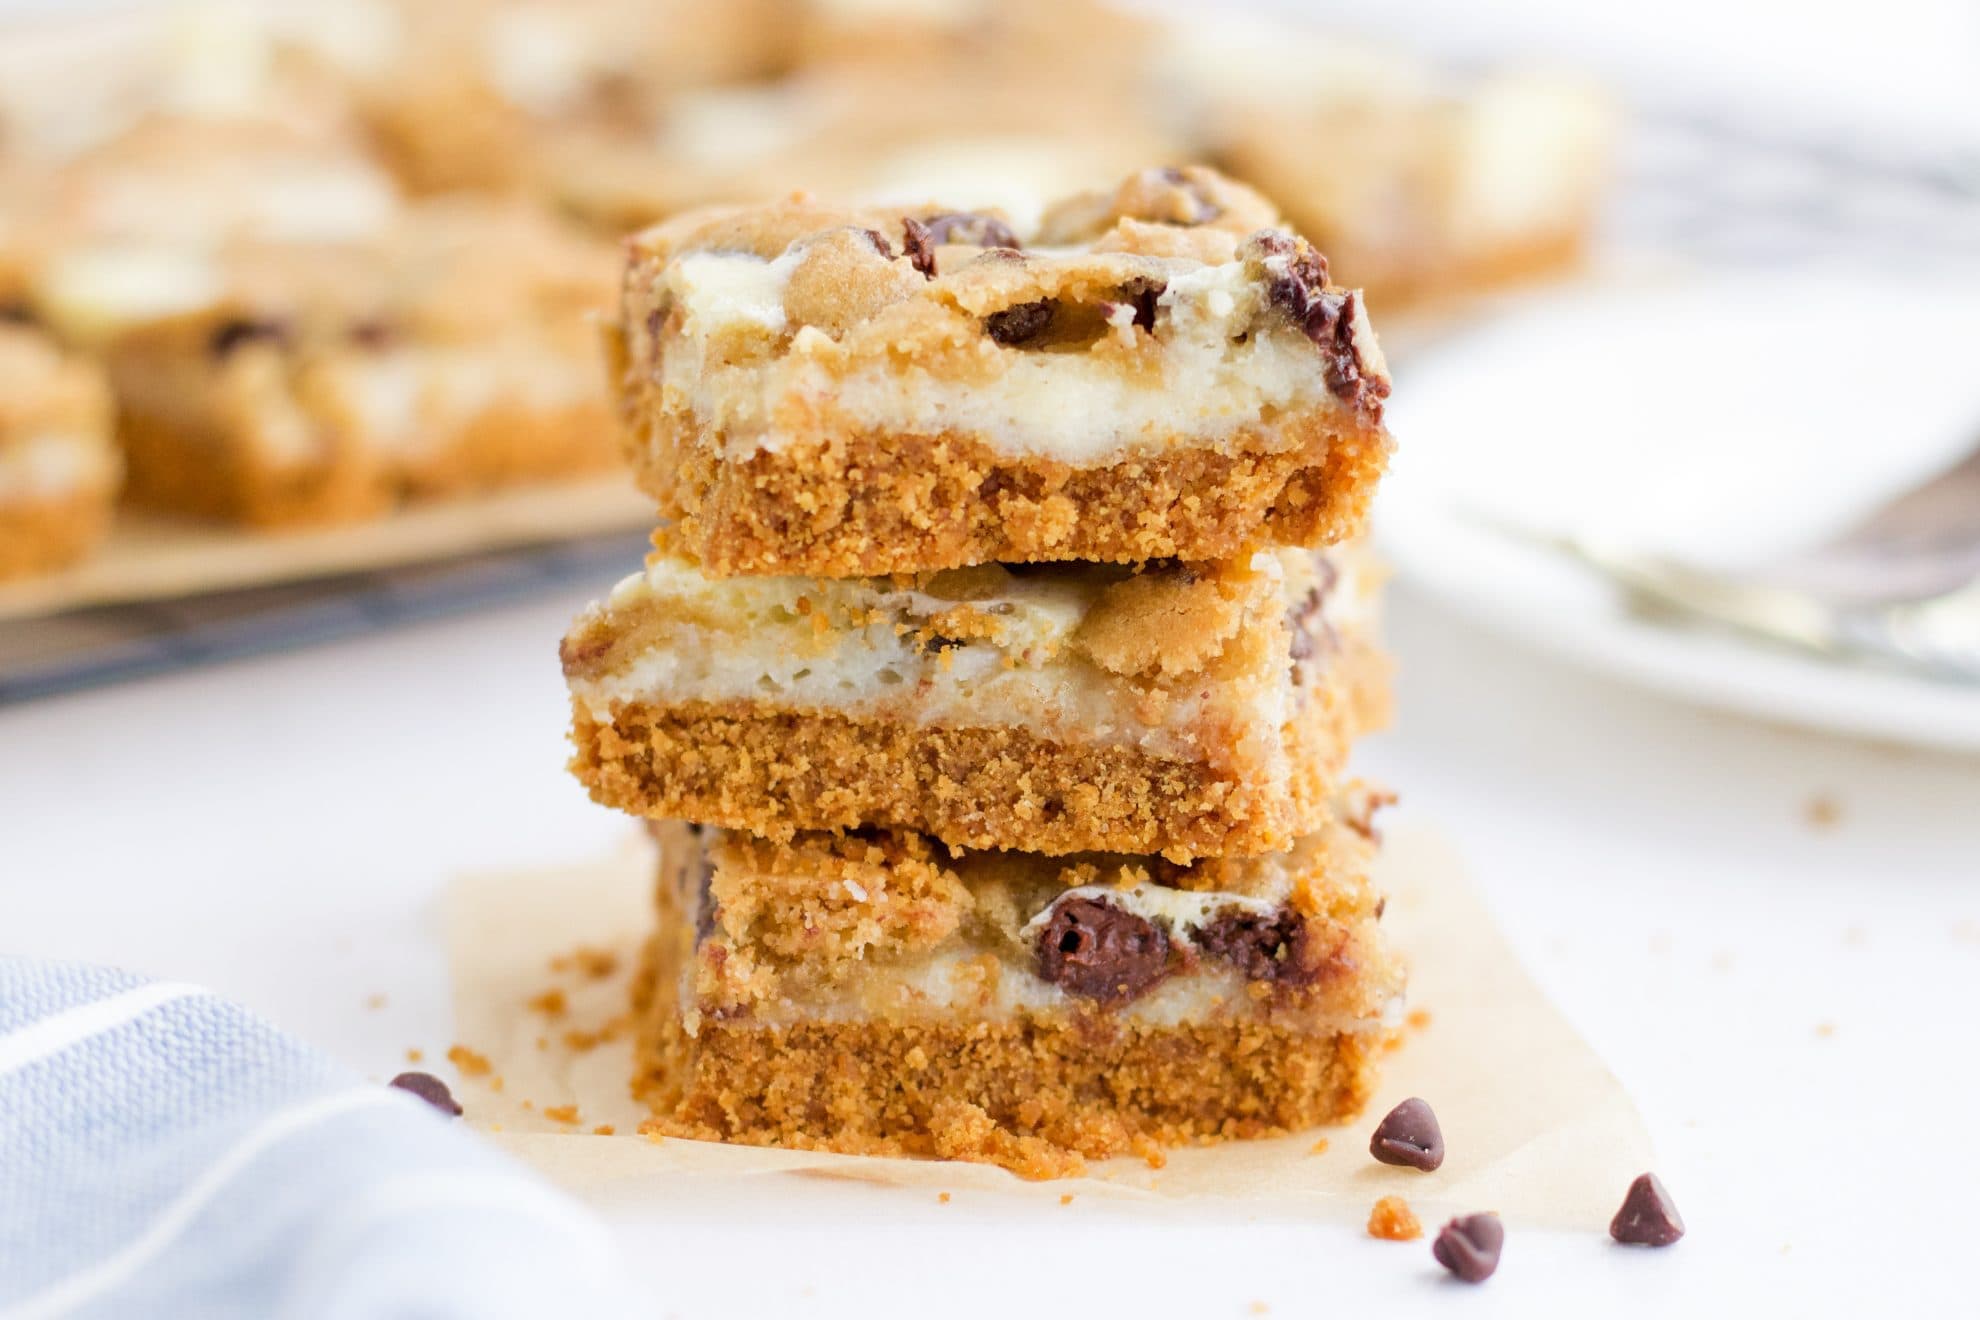 Peanut Butter Chocolate Chip Cheesecake Bars Recipe
 -
 Peanut Butter Banana Bars Recipe