Skip to primary navigation
Skip to main content
Skip to primary sidebar
Skip to footer
Breakfast
Bread
Cakes
Cookies
Pastries
Pies
Savory
Search
menu icon
Breakfast
Bread
Cakes
Cookies
Pastries
Pies
Savory
☰
search icon
Search
Breakfast
Bread
Cakes
Cookies
Pastries
Pies
Savory
☰
×
Search results for: label/How-to and Tips
Sorry, no content matched your criteria.
and
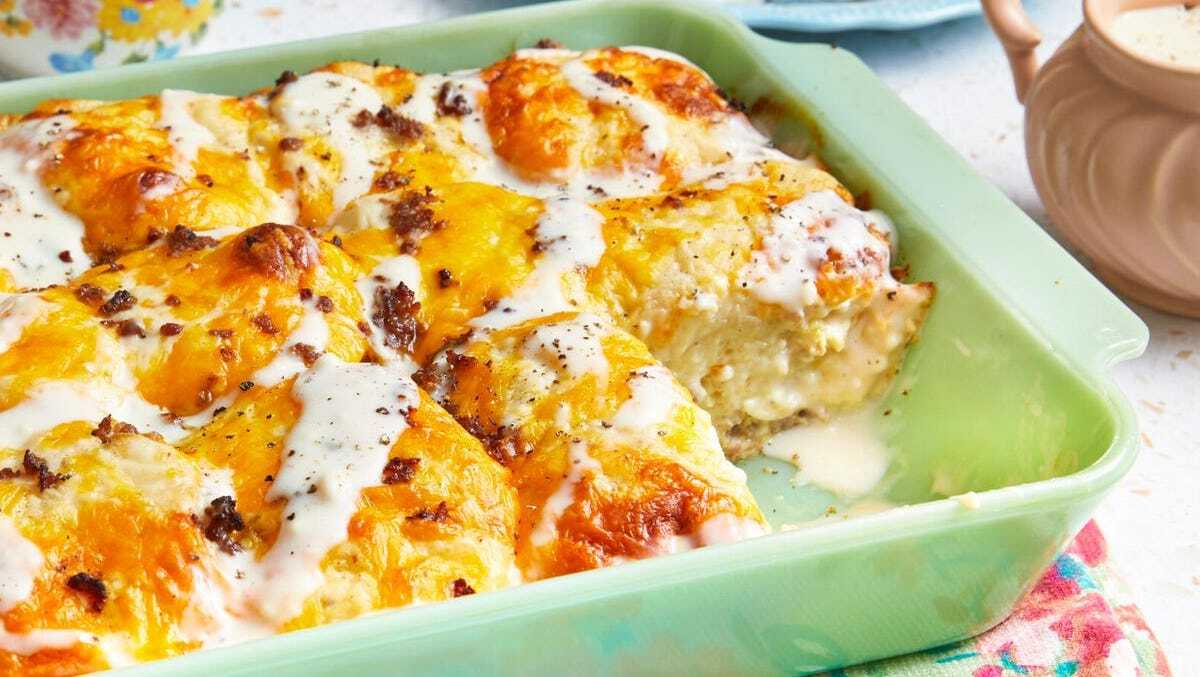
Biscuits and Gravy Casserole Recipe
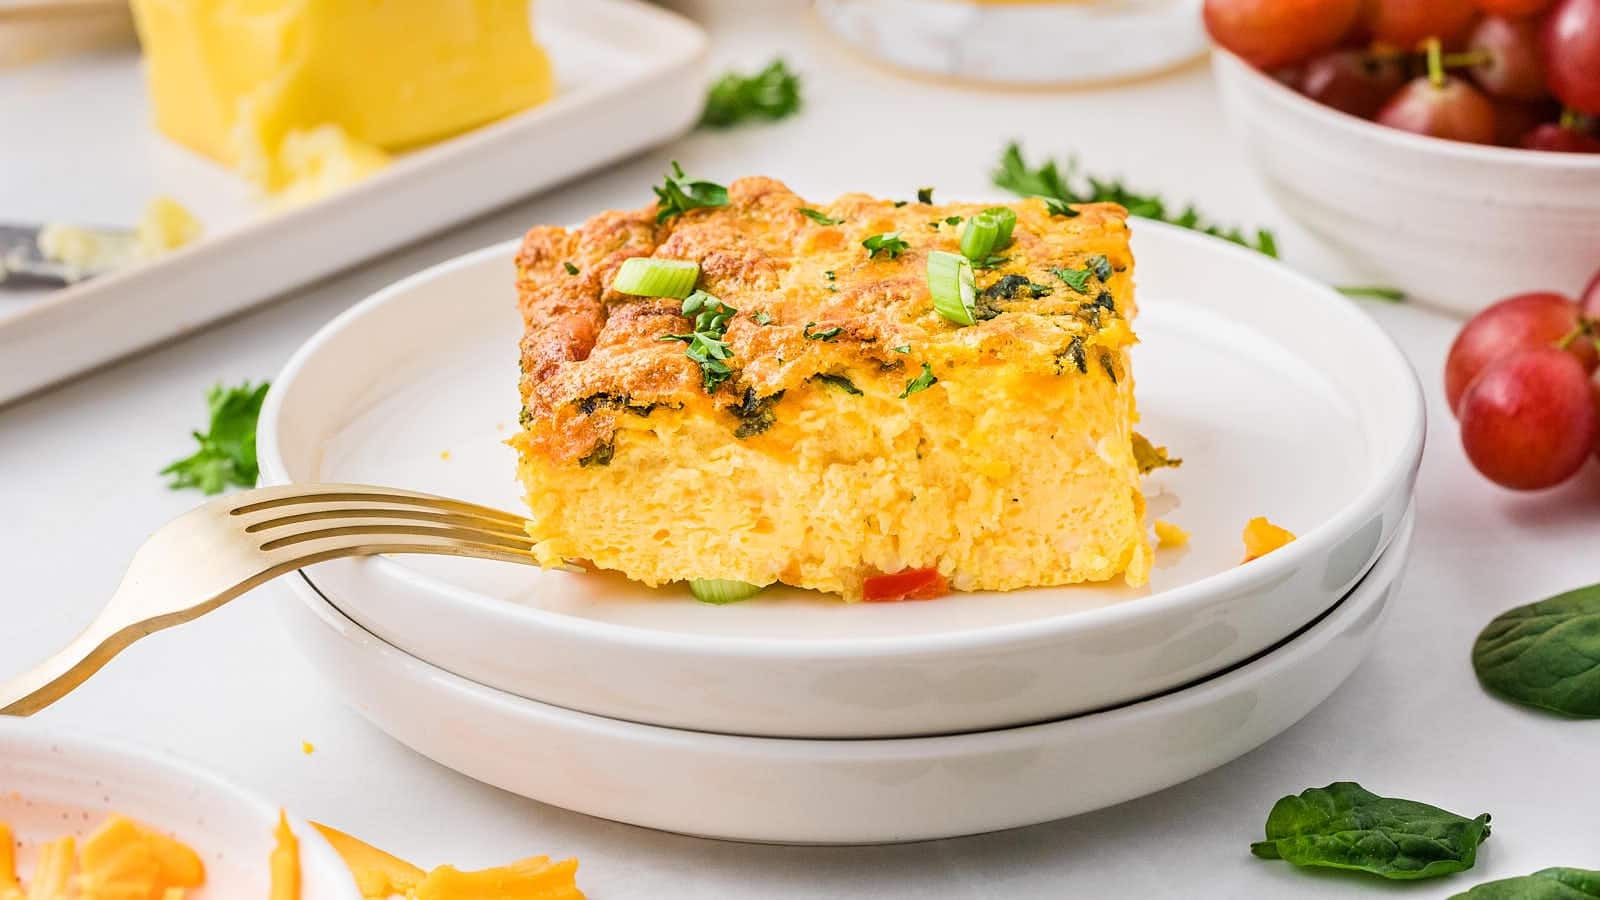
Egg and Cottage Cheese Casserole Recipe
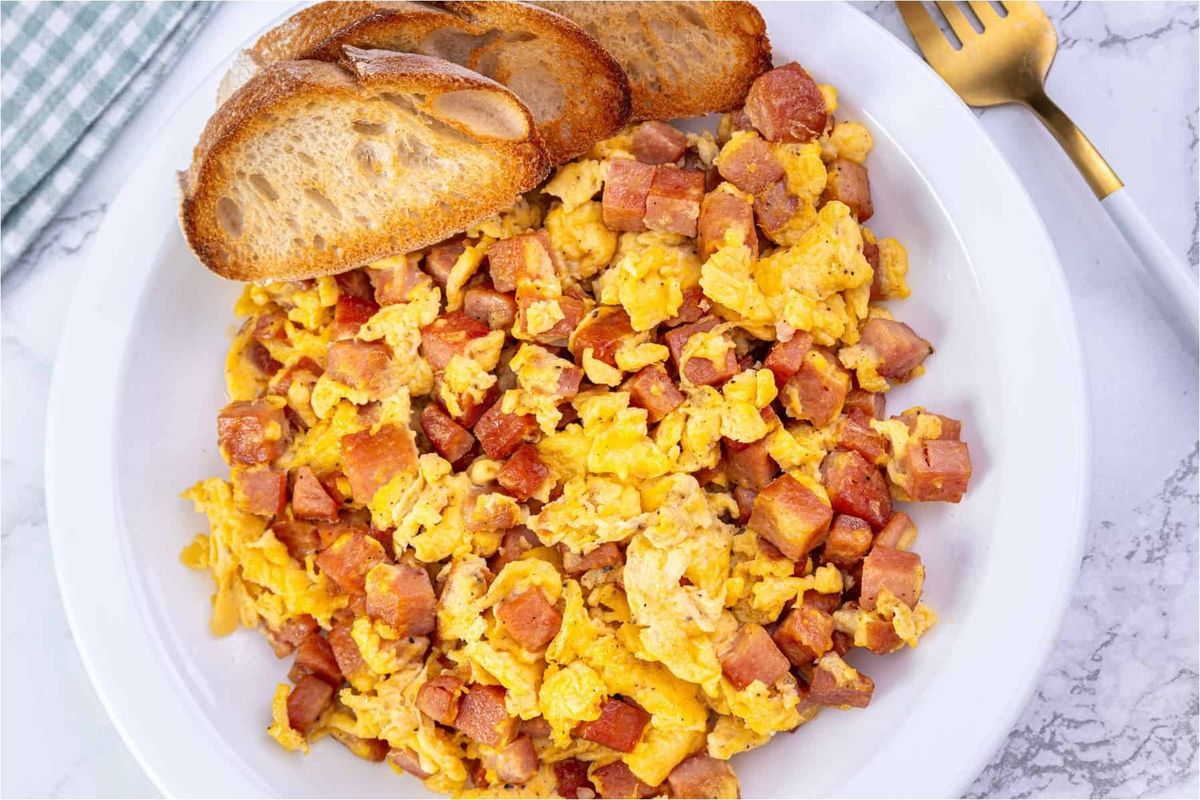
Spam and Eggs Recipe
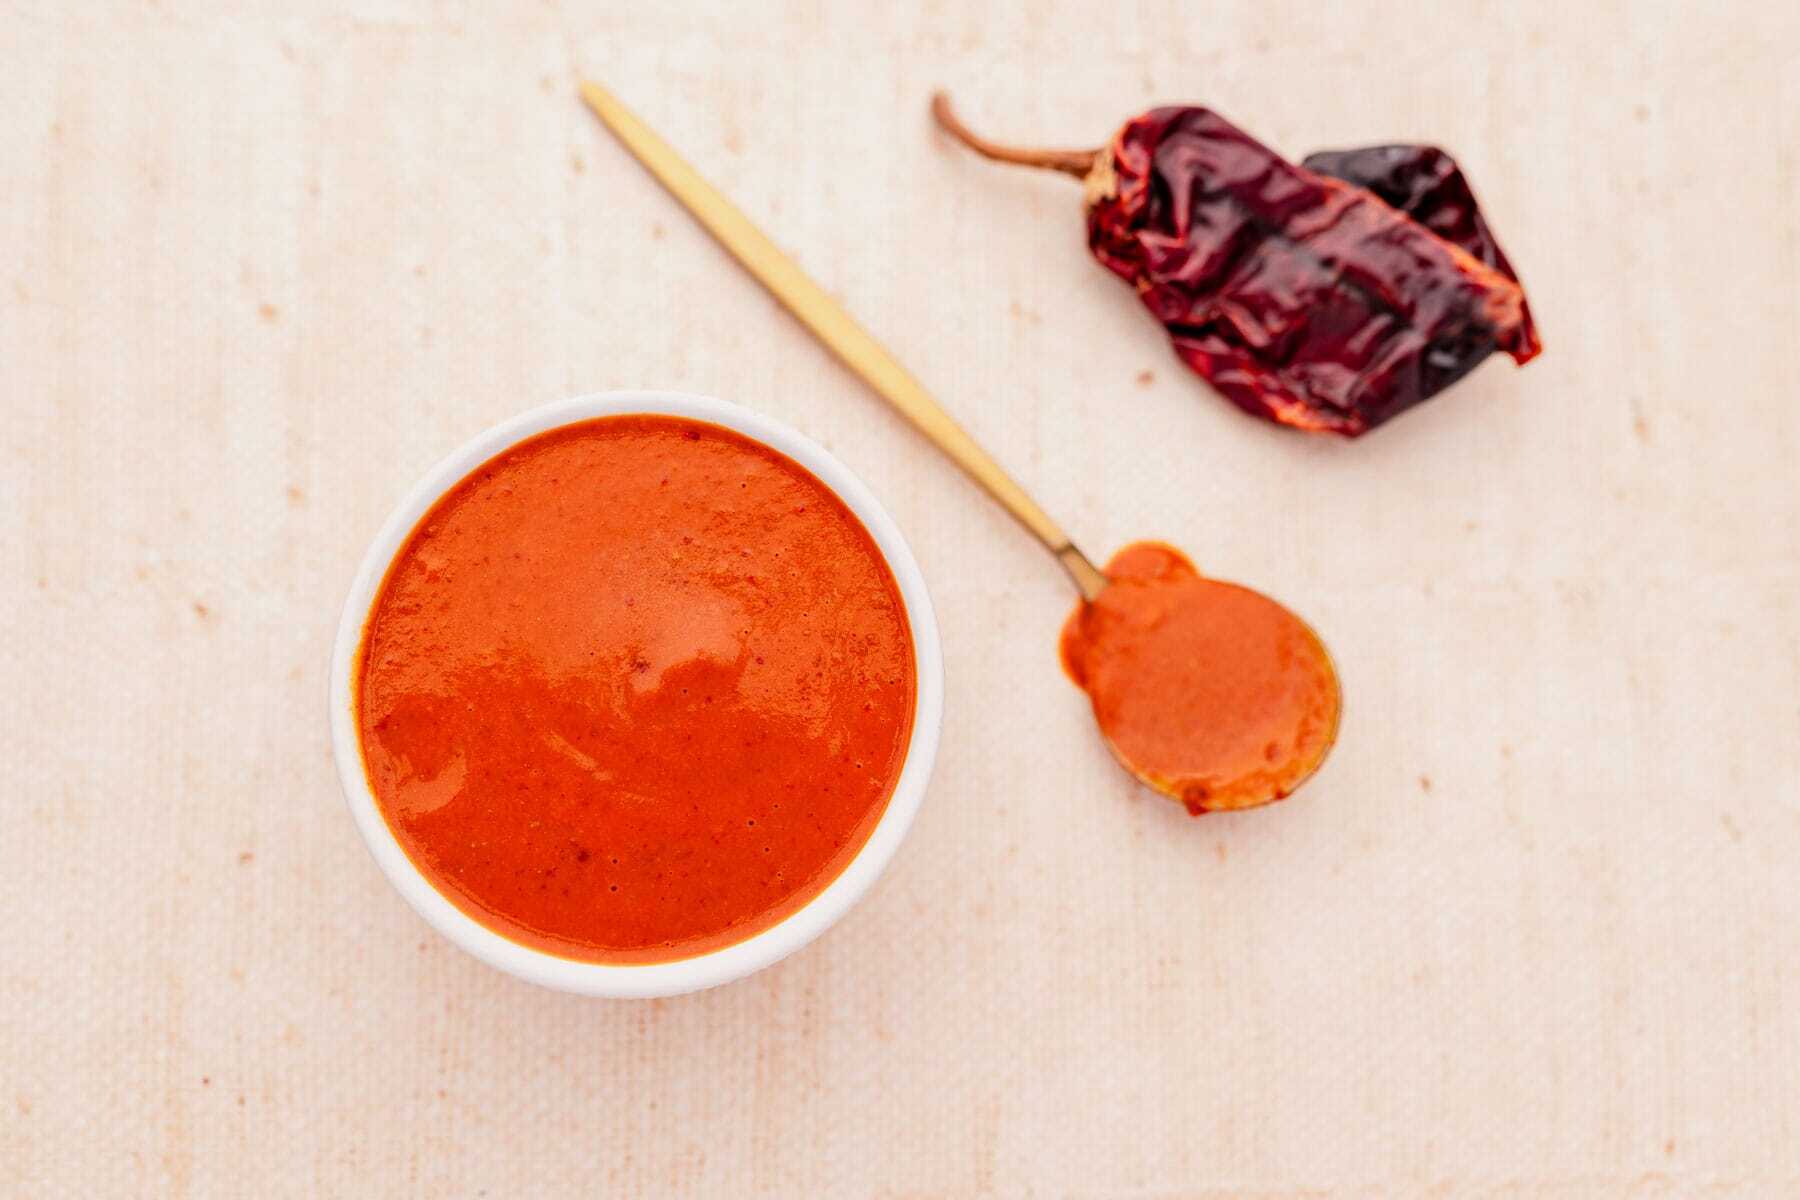
Canary Island Red Mojo Sauce Recipe
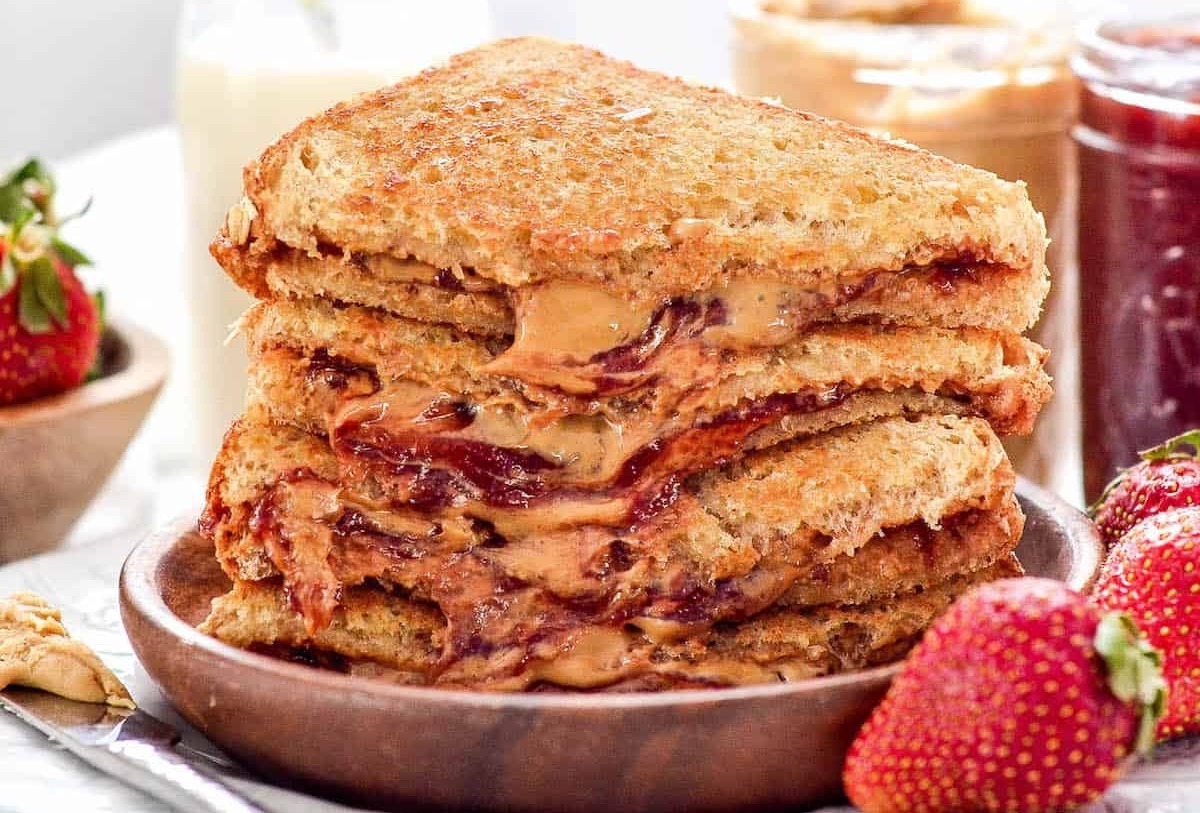
Grilled Peanut Butter and Jelly Sandwich Recipe
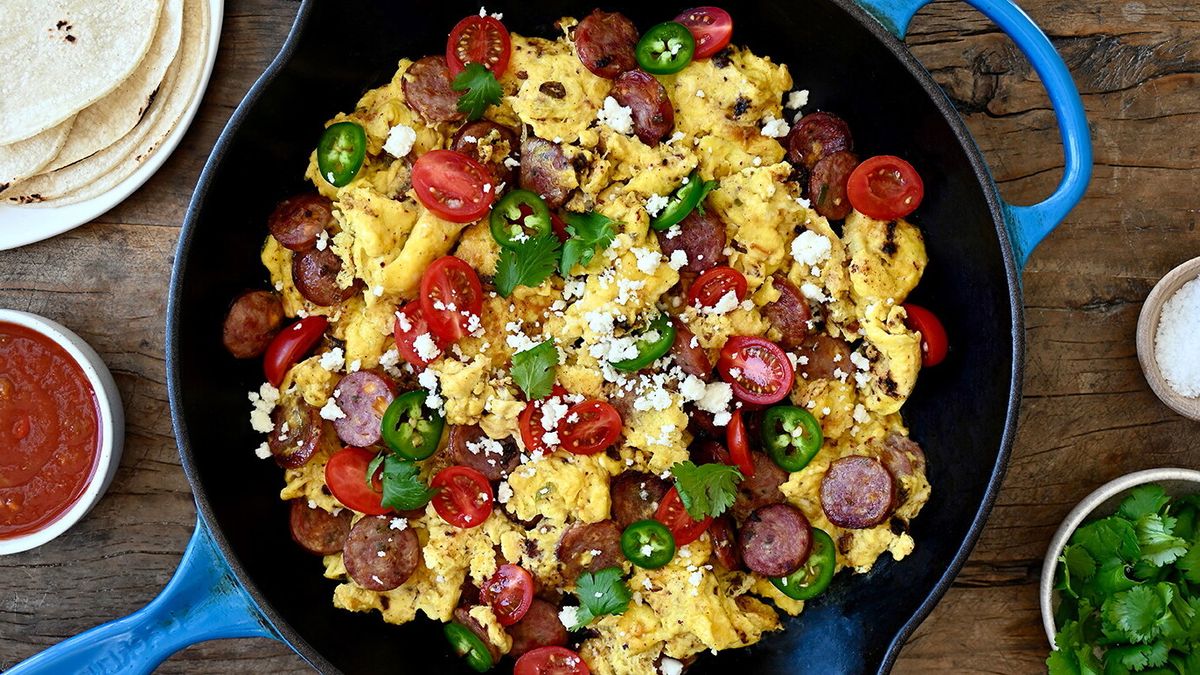
Sausage Egg and Cheese Scramble Recipe
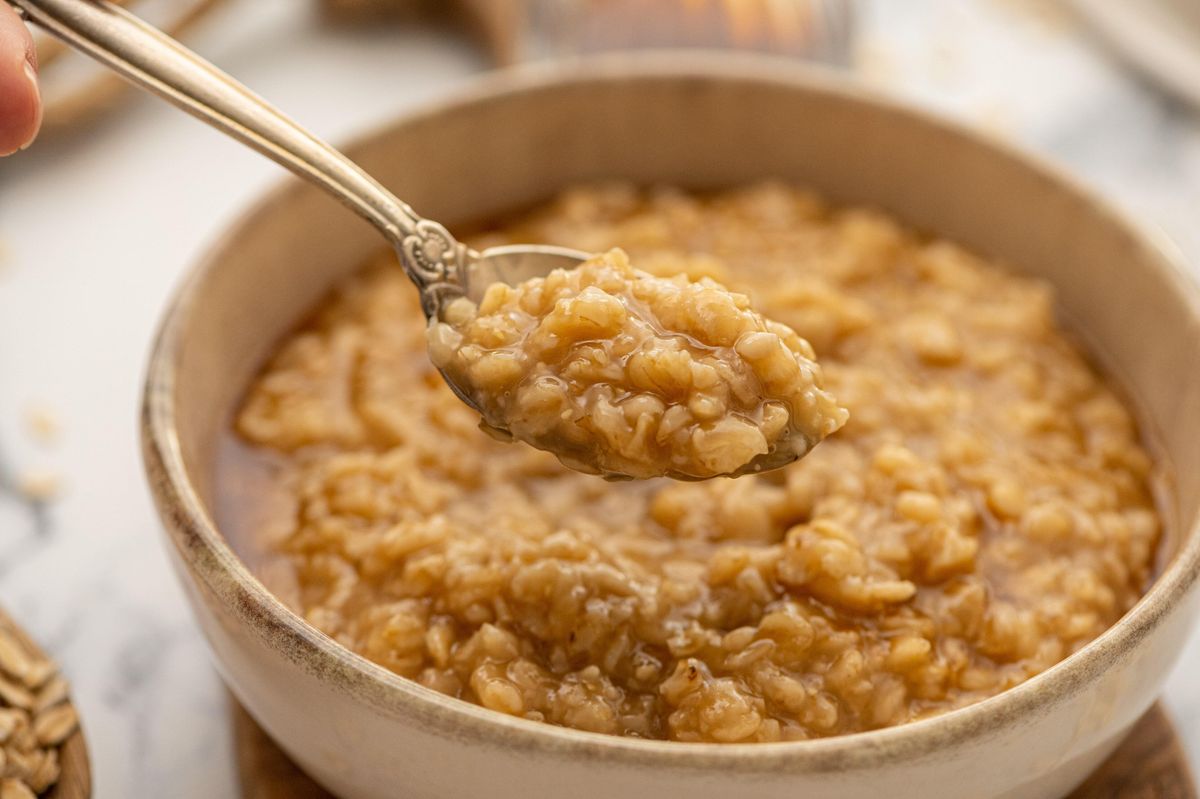
Maple and Brown Sugar Oatmeal Recipe
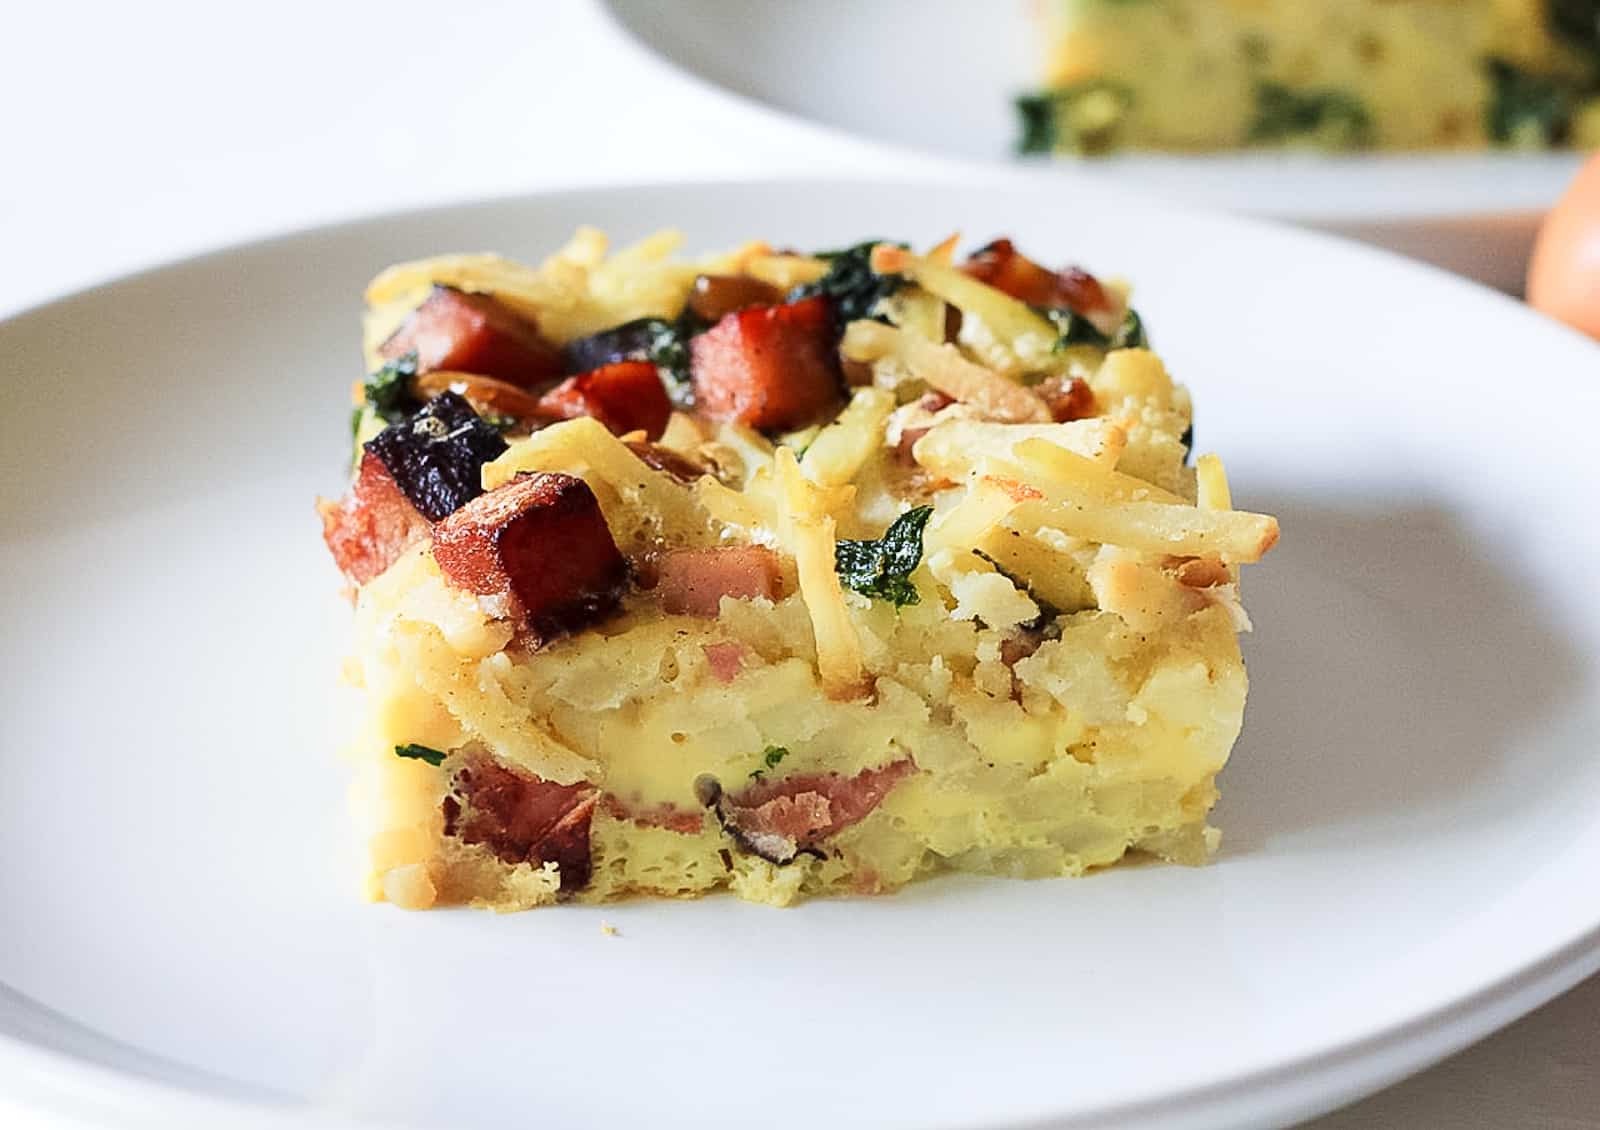
Ham and Egg Breakfast Bake Recipe
Tips
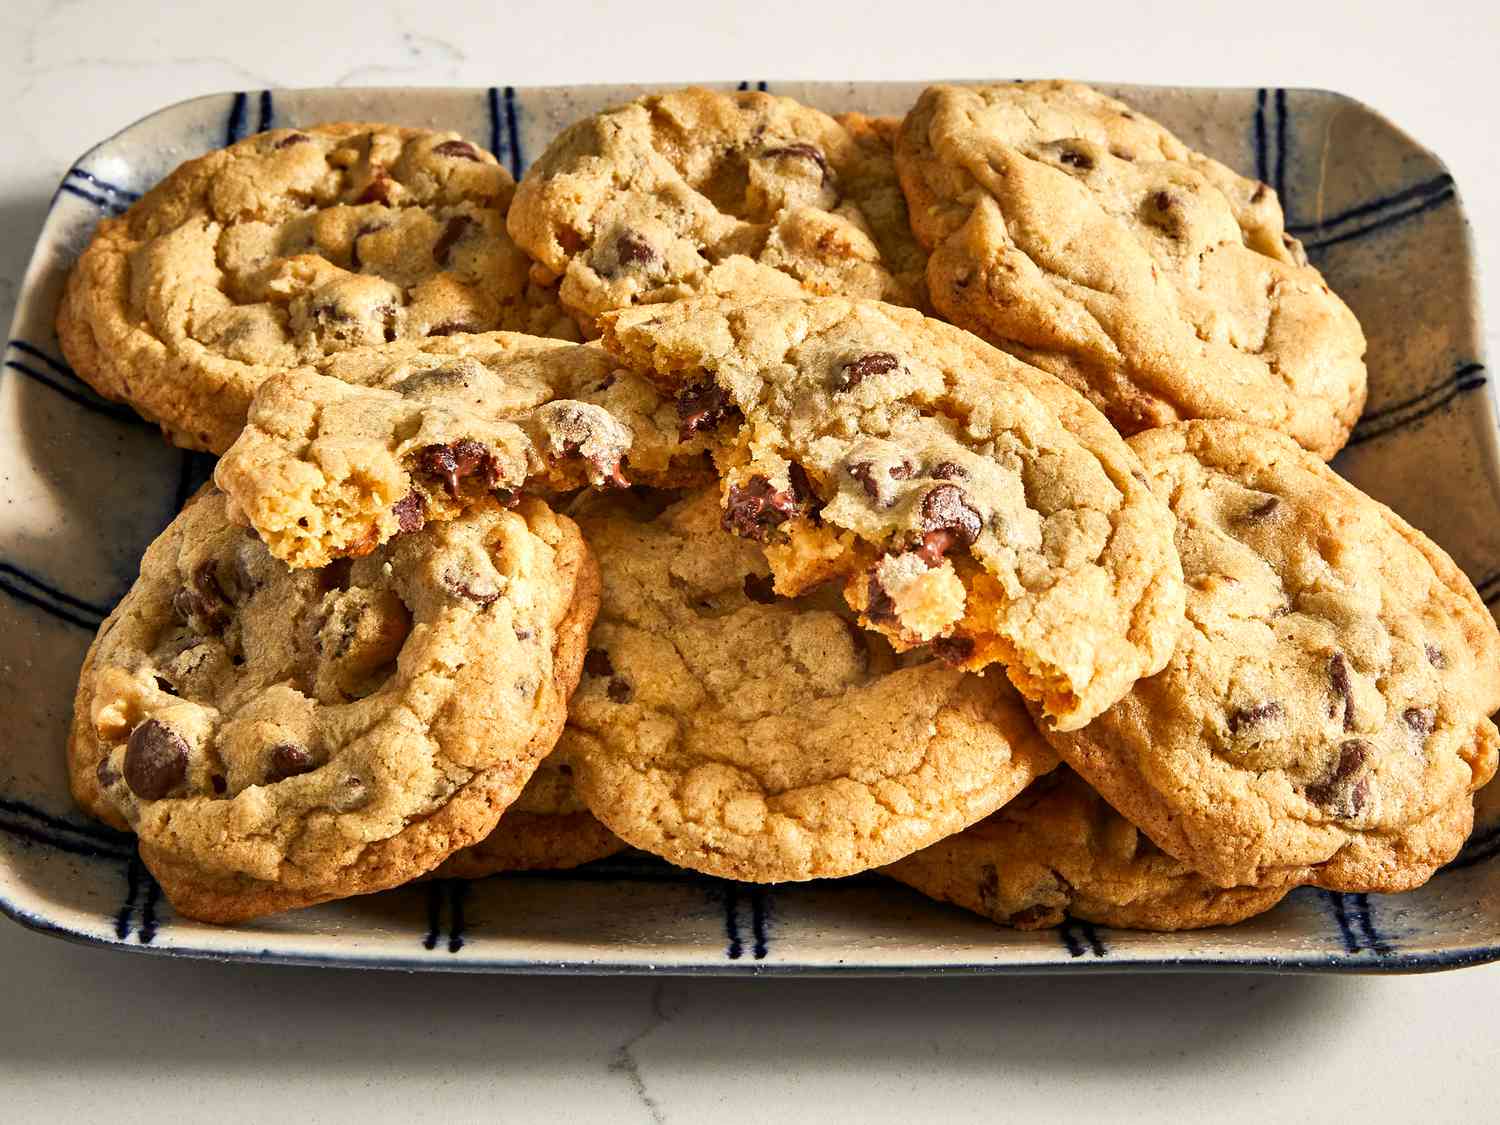
Cookie Baking Tips Recipe
You may be interested in...
Baja Sauce Recipe for Fish or Shrimp Tacos
Garlic Naan Recipe
Swedish Hard Tack Recipe
Dutch Crunch Rolls Recipe
Strawberry Glazed Pie Recipe
Spanakopita Greek Spinach Pie Recipe
Breakfast Rice Recipe
Italian Rice Pie Recipe
×
Search
Baking Tools
Bread
Breakfast
Brownies & Bars
Cakes
Candy
Cheesecake
Cookies
Cupcakes
Frosting
Ice Cream & Frozen Treats
No-Bake Recipes
Pastries
Pie, Crisps, & Tarts
Savory
Specialty Desserts
Toppings & Sauces